Spring Boot + Docker + AWS | Deploying Docker image from AWS ECR to AWS ECS
Chapter 4 | Deploying Docker image from AWS ECR to AWS ECS


Before you start reading, you have to know that this tutorial series is designed to be the most simpliest and easiest way for begginers, our aim here is to get beginners to start and get dirty on this type of stuff, we are not considering that this will create a professional and complete structure of service or services that you can use on production but at least will help anyone out there.
In our last episode... Chapter 3. Let's remember:
- We started with AWS into AWS ECR
- We used our Docker image created in Chapter 1 to push it into AWS ECR
Ok, now, that we have our image stored into AWS ECR (remember, ECR is the space where we are going to store all the Docker images that you want, like Docker Hub) and now we are going to use that image to deploy our application into AWS ECS, but let's learn what does AWS ECS is.
About AWS ECS
Amazon Elastic Container Service (Amazon ECS) is a fully managed container orchestration service that helps you easily deploy, manage, and scale containerized applications. It deeply integrates with the rest of the AWS platform to provide a secure and easy-to-use solution for running container workloads in the cloud. Information taken from here
There are some other similar services like AWS ECS out there, like AWS EKS (another service from amazon), ECS from Alibaba, ECS from Azure or the simplest of all of them and the one that is Open Source, Kubernetes, but you can easily integrate Kubernates with eny cloud service.
For this series we are going to use AWS ECS, so here we go!!!
AWS ECS in Action
Creating the cluster
As always, we are going to start from the AWS Console main page:

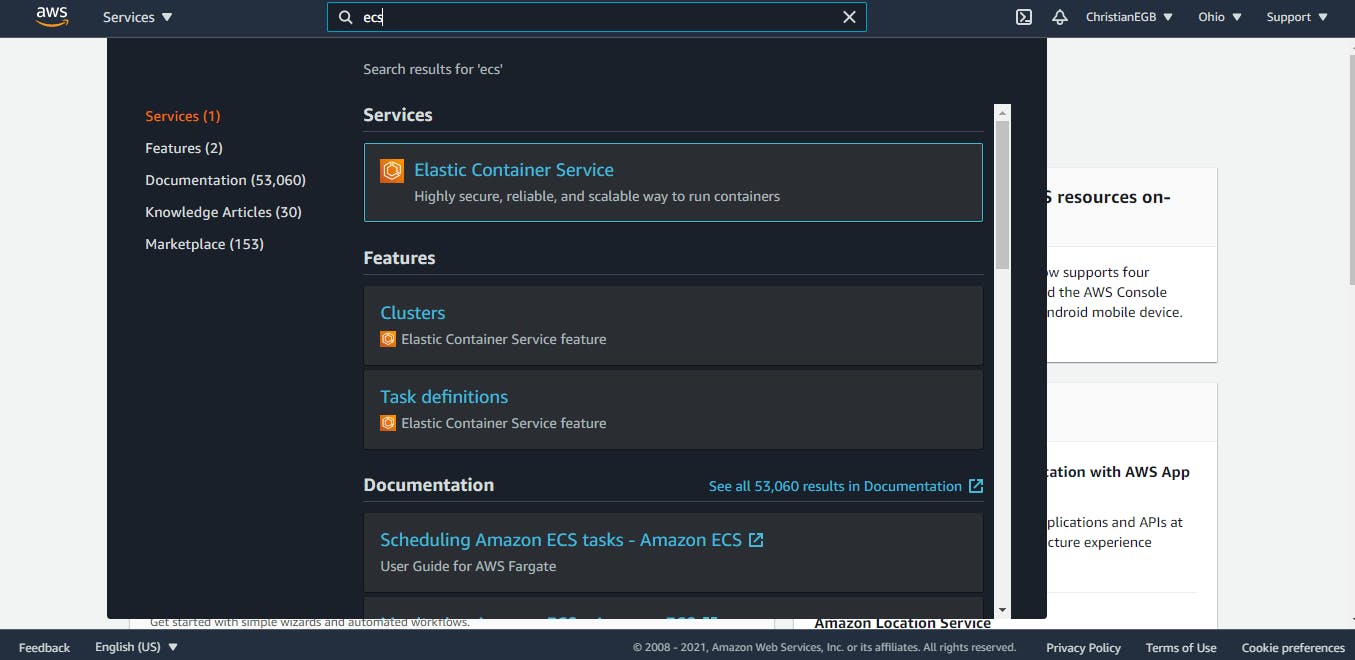
In the search box type: ecs and choose the first service listed, that is Elastic Container Service:
Once you click over that service and if this is the first time that you are accessing this service you will see the next:
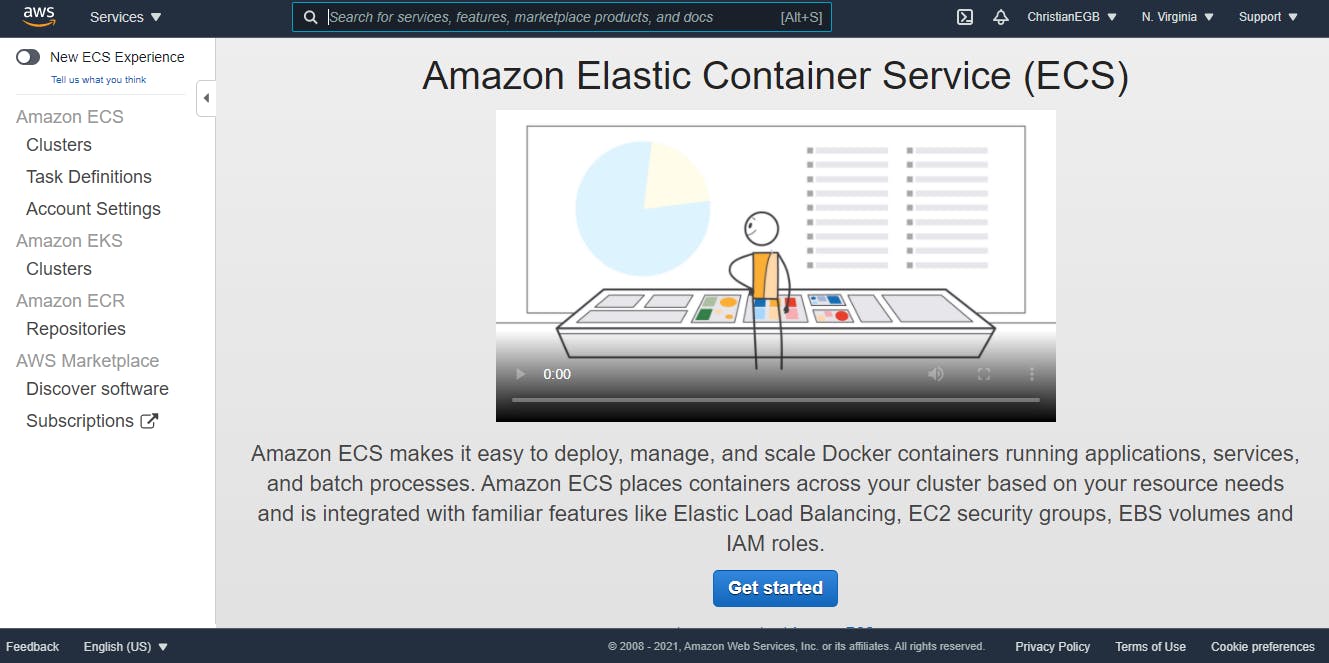
I just switched to another region in AWS in order to show you how to create a cluster from the first home page of ECS, then I will return to my region (us-east-2) to continue deploying, you don't have to do this, is important that you are creating the cluster in the same region where you stored the AWS ECR repository and image.
Ok, ignore all this Get started stuff and let's move on our way.
In the left menu you will see the submenu Clusters under the Amzon ECS menu, click on that, check the image below:
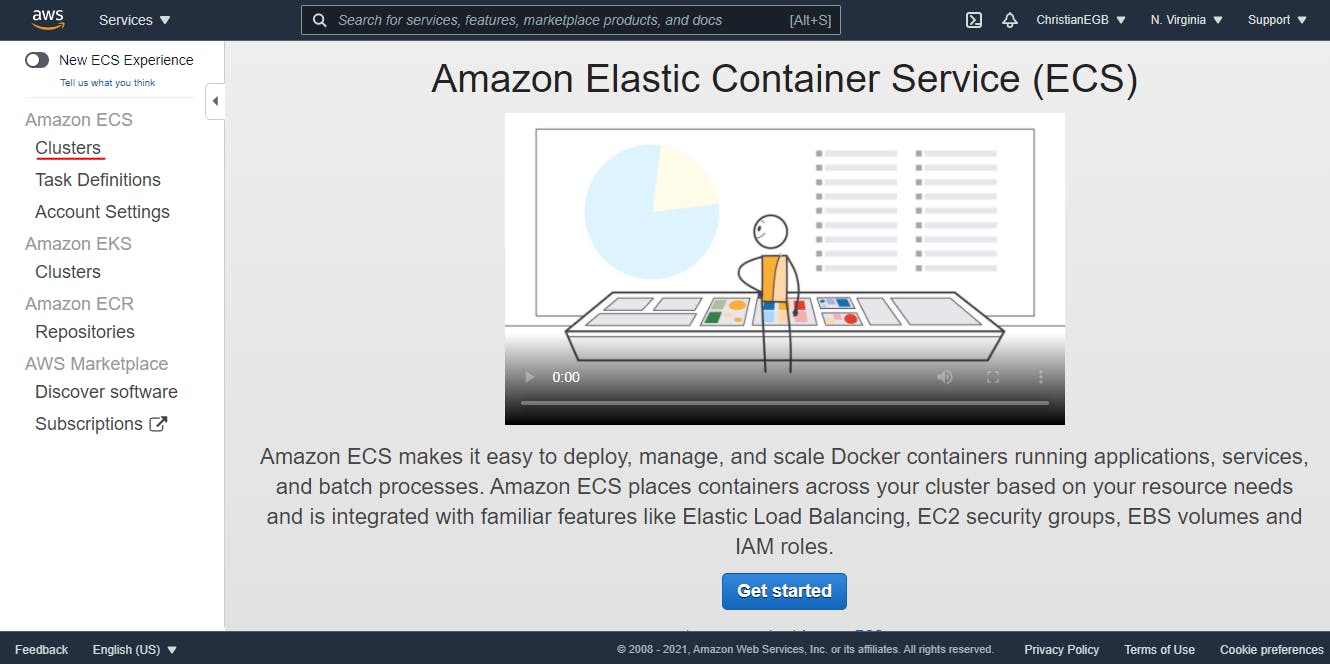
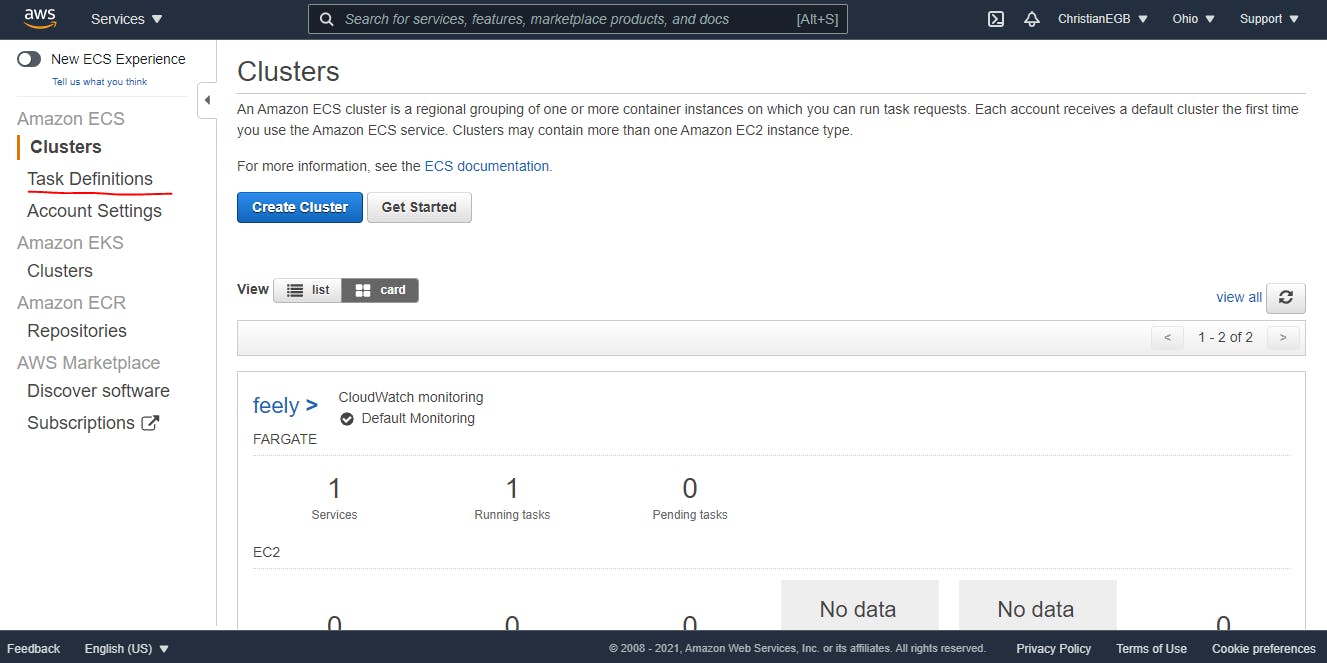
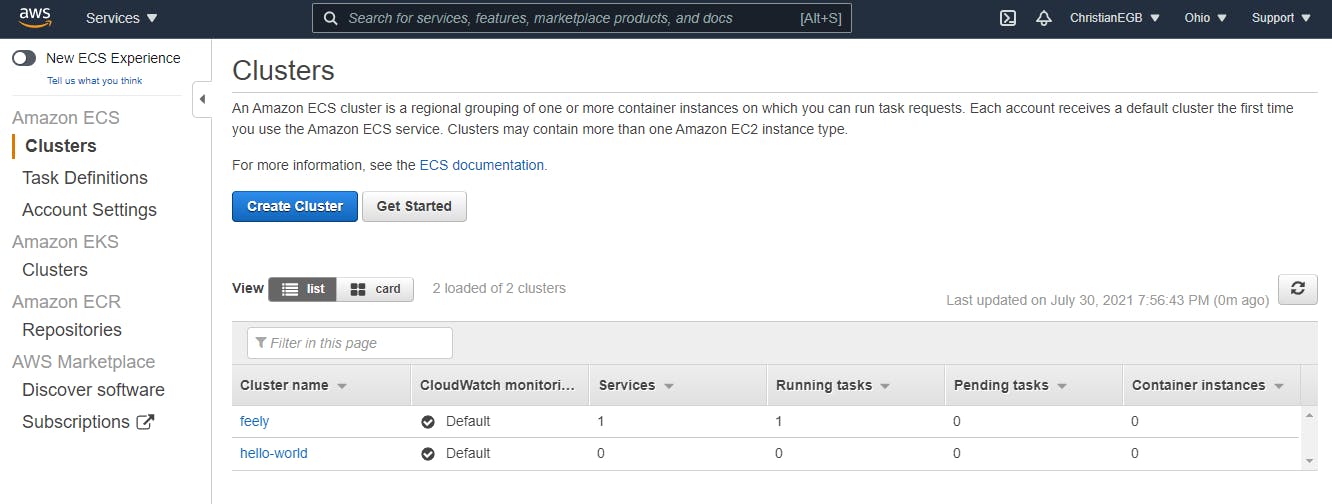
That will take you to the next page, here we can create our first cluster:
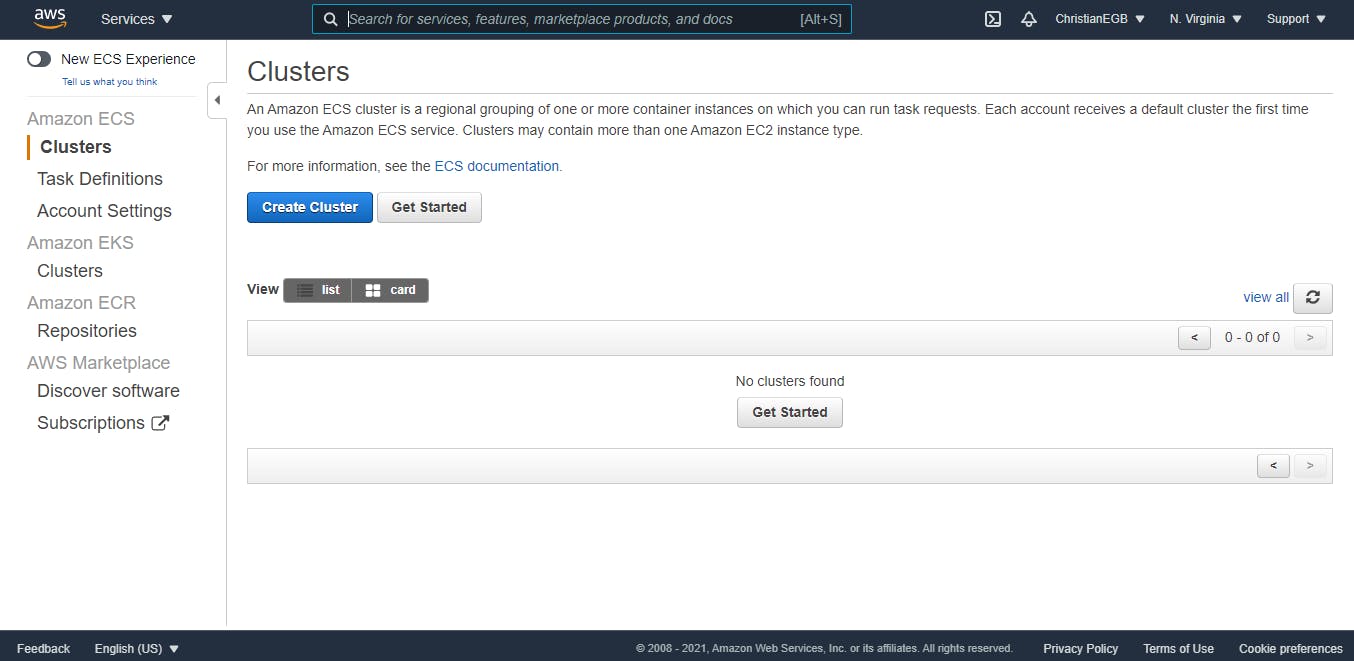
Now click in the Craete Cluster button, then you will see something like the next:

In here, you don't have to do nothing, just scroll down and click Next step. You are seeing this, right?
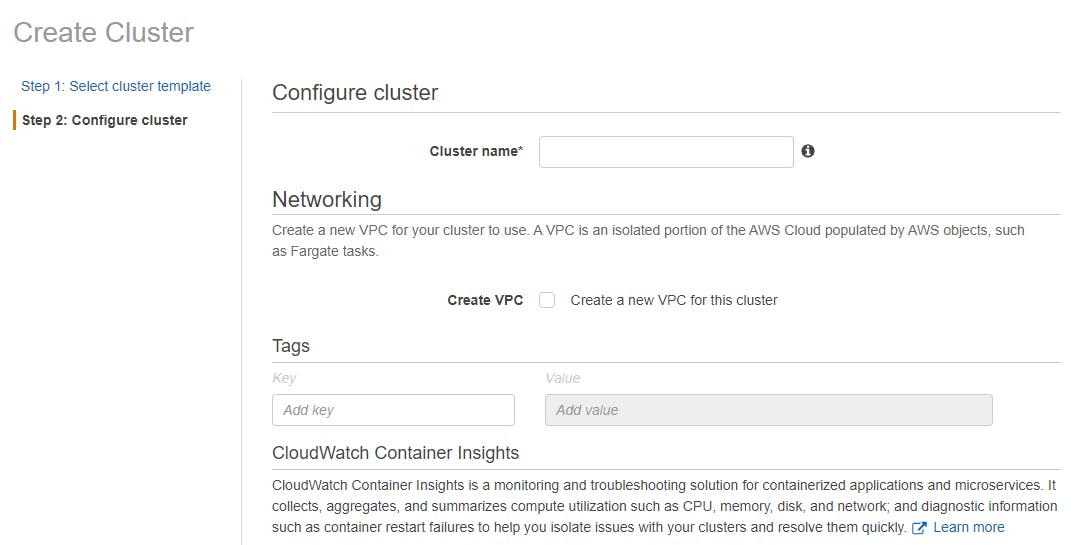
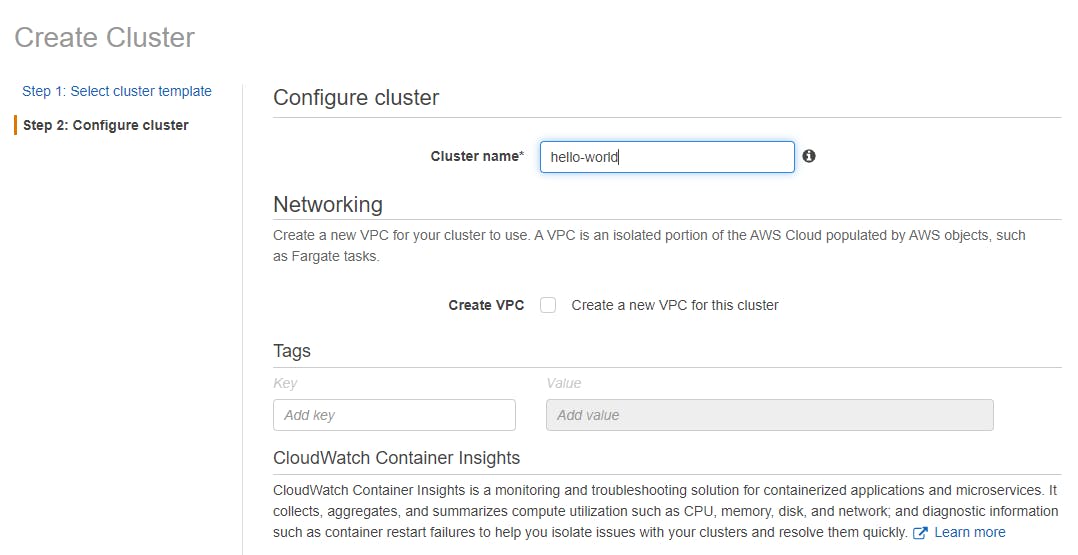
Here we are going to add a name for our cluster, write it, I will put hello-world, then just click Create you don't have to select anything else.
Once you click on the Create button you will see something like this:
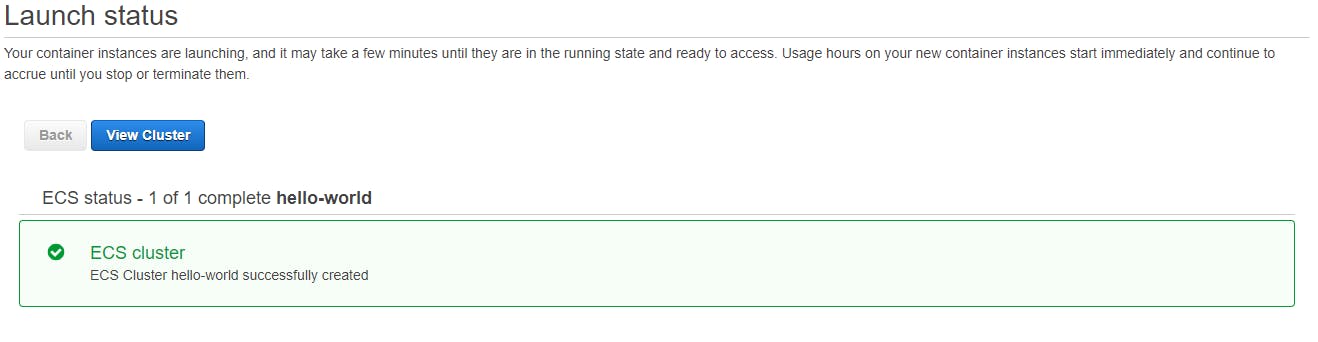
Now click on the View Cluster button, that will drive you to the next page:
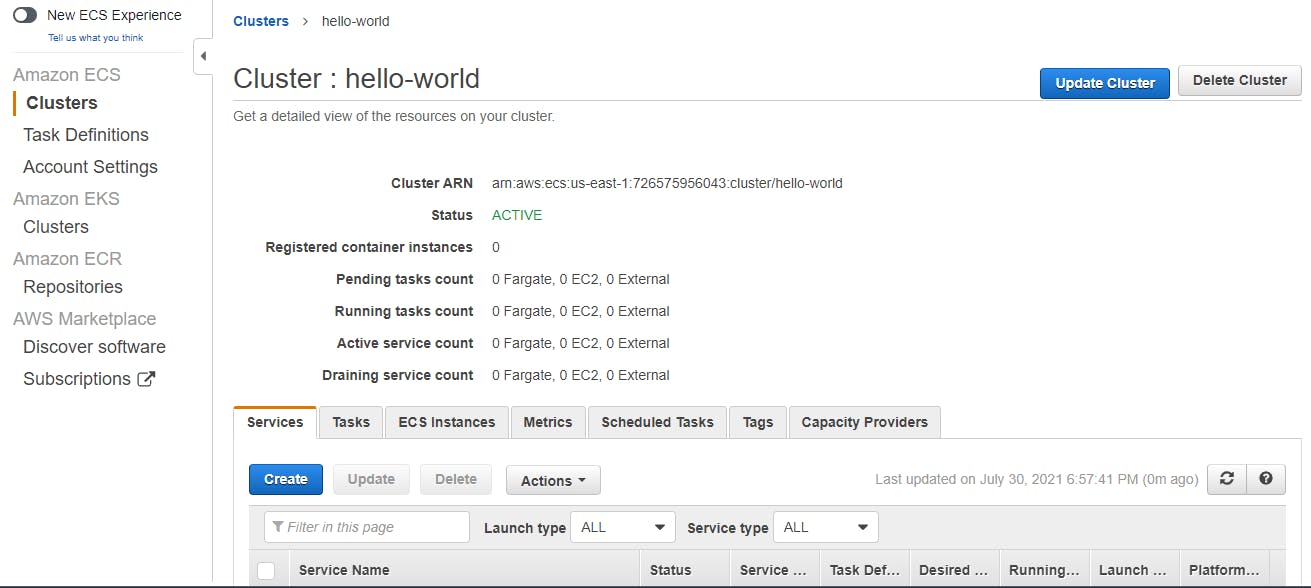
Congratulations you just created a cluster, now we need to create a service to deploy our Spring Boot application that is already into our image that is already into AWS ECR, Ah!, a lot of "already into" hahaha.
Ok, to create the service we need one things first and this is the task definition. let's see what it is and how to create that.
Craeting the Task Definition
Task definitions specify the container information for your application, such as how many containers are part of your task, what resources they will use, how they are linked together, and which host ports they will use
I just got that from the main page of the task definition page hahaha

Ok, ok, let's continue...
Now, again, in the left menu you will see a submenu called Task Definitions under the AWS ECS menu:
Did you saw that I have a cluster called feely? don't take that into account, is just that I already got a cluster created in the us-ease-2 region, yeah I switched to the original region where the docker image is, remember that I told you before that I switched to another region to show you the exact same pages that AWS was going to show,but don't worry I have the hello-world cluster here too. take a look...
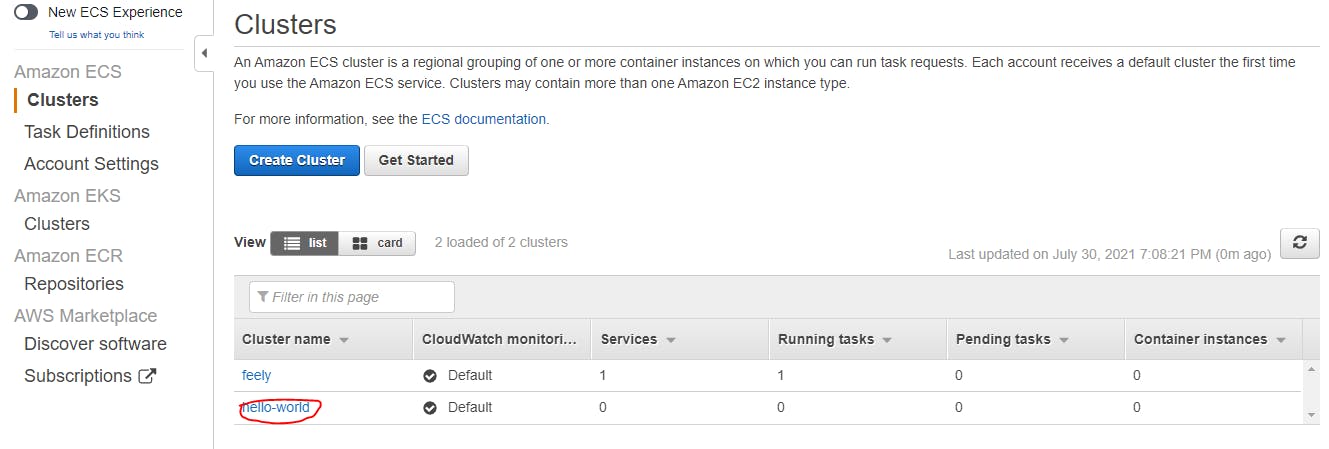 So, don't worry, everything is fine.
Ok, ok, click on the Task Definitions submenu, that will give you the next page:
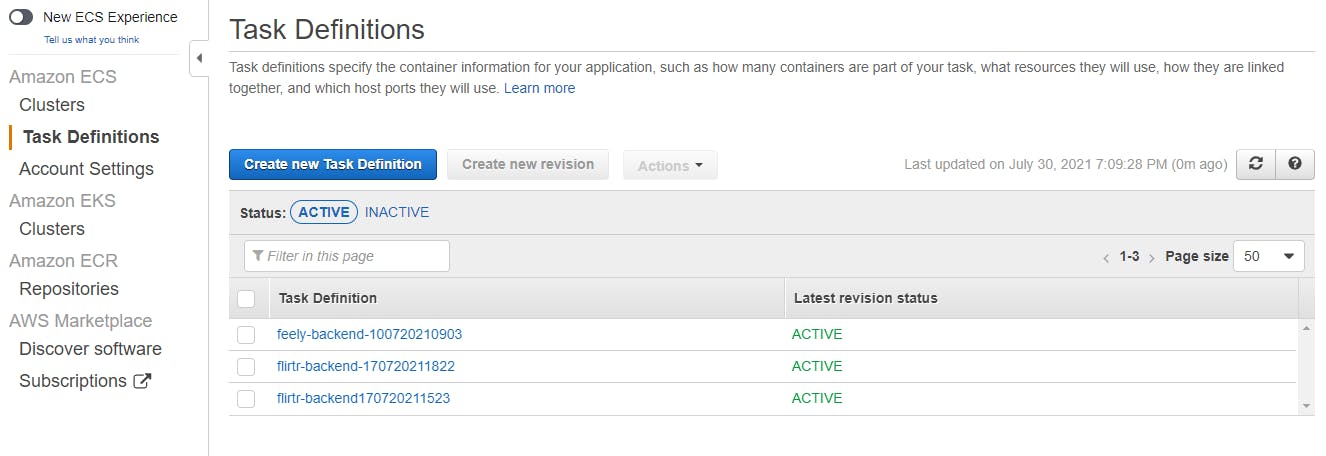
You will see an empty list in you case but for me, I already have 3 of them, hehe, don't worry, I'll show you how to craete a brand new task definition, so click over the Create new Task Definition button, that will give the next:
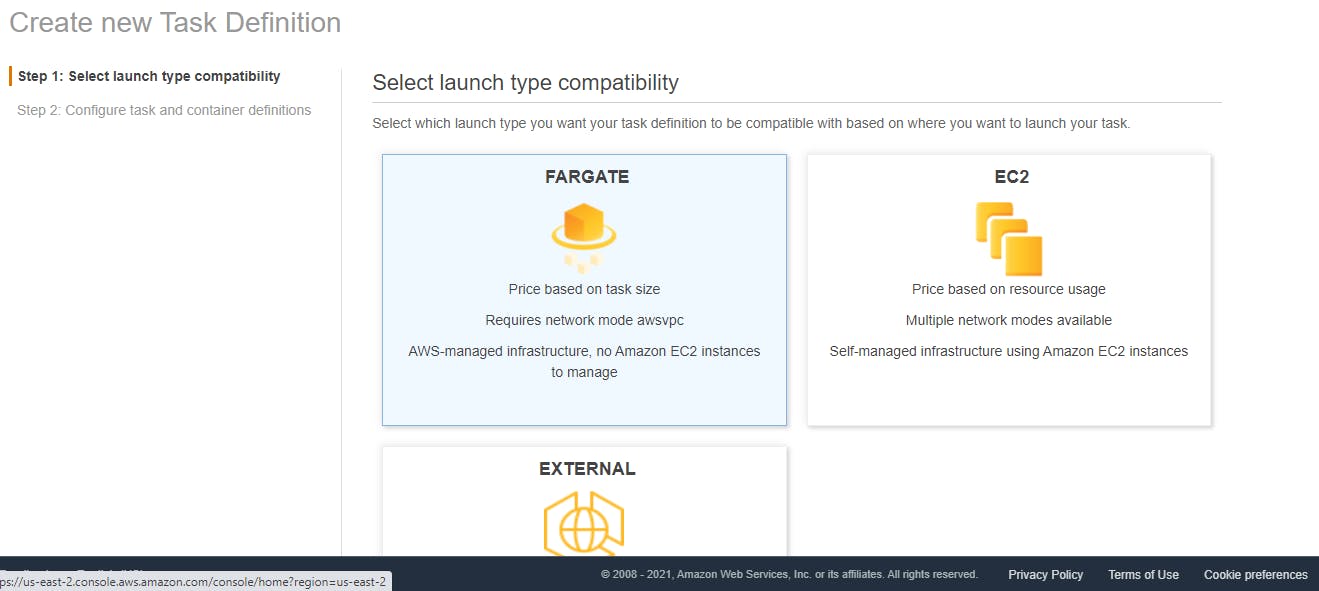
Be sure that the Fargate option is selected and then click Next step, Oh and if you are wondering what this is, well this is hwo you are going to deploy, AWS gives you the option to choose between using a service depending on the size of the task, depending on the amount of resources or depending on the time by external resource. A lot of people does not use AWS ECS to deploy Docker images, instead of that they create Virtual Computing using a service called AWS EC2 (Elastic Compute Cloud), virtual machines where they choose the operative system and they isntall all that they need, then through a connection to the virtual machine they copy stuff and deploy everything. I mean, is a way to do it, but we are trying to do the simplest way. Maybe in the future we can do it hehehe.
Ok so if you clicked over the Next step you are now seeing this:
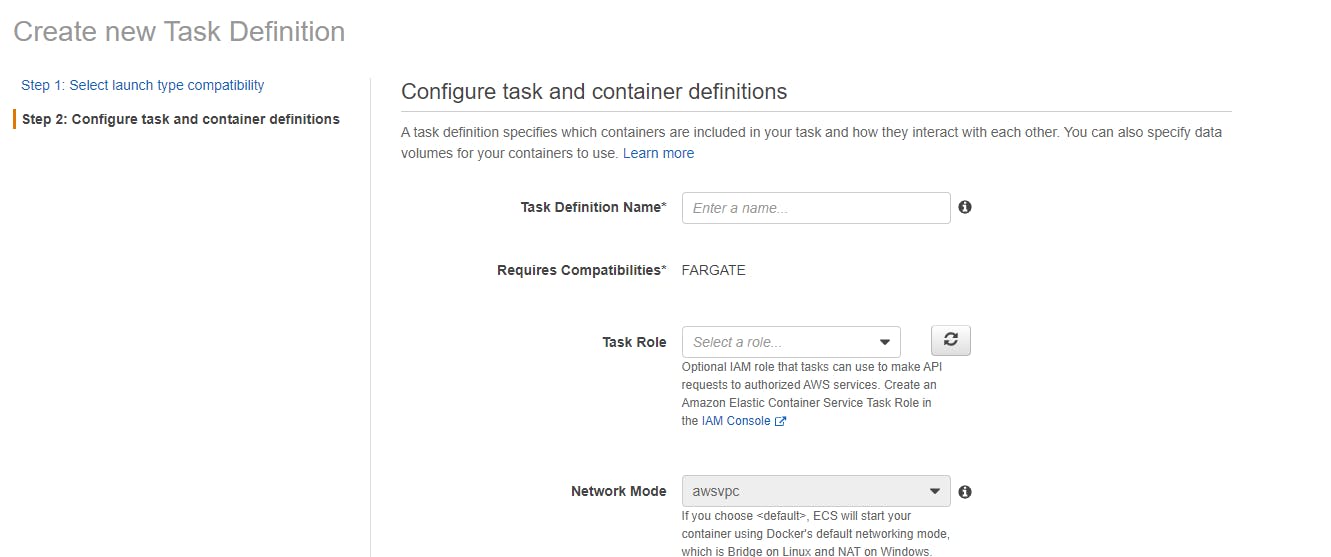
So let's fill this inputs:
1.- In the Task Definition Name we need to add the name of our task, I really recomend you to put -daymonthyeahtime, a good example will be hello-world-300720211921 that will be July 30th, 2021 at 19:21 Hrs. This will help you because the naming will change depending on when you created the task, so if you have a lot of task definitions you are not going to get confused. Another thing, remember the naming convention that we talked in Chapter 1, 2 and 3, well the same here, I really recommend you to put the name of the Spring Boot application, that will be the same as the JAR file and the same as the image name, that will match later under the hood with AWS ECS.

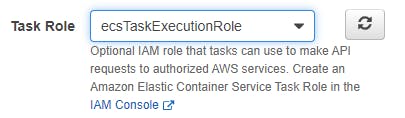
2.- Choose the Task Role to be *ecsTaskExecutionRole:
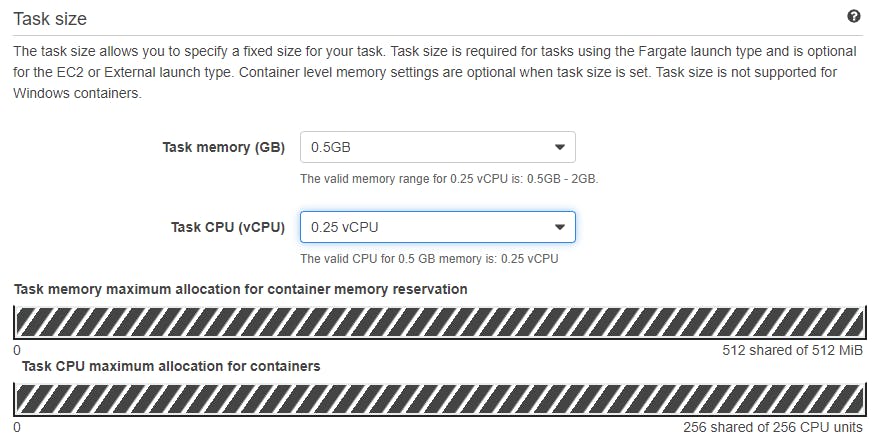
3.- The Task size, here you need to choose 0.5GB and 0.25 vCPU, this defines how much memory and resource of Virtual CPU our task will use, you have to have somethinglike this:
4.- The Container Definitions

This is the most important thing, here we are going to tell the task where it can find the docker image and we are going to put a name and map ports and memory, take a look on this and be carful, to start click on the Add container button:
4.1.- A right menu should be displayed, something like:
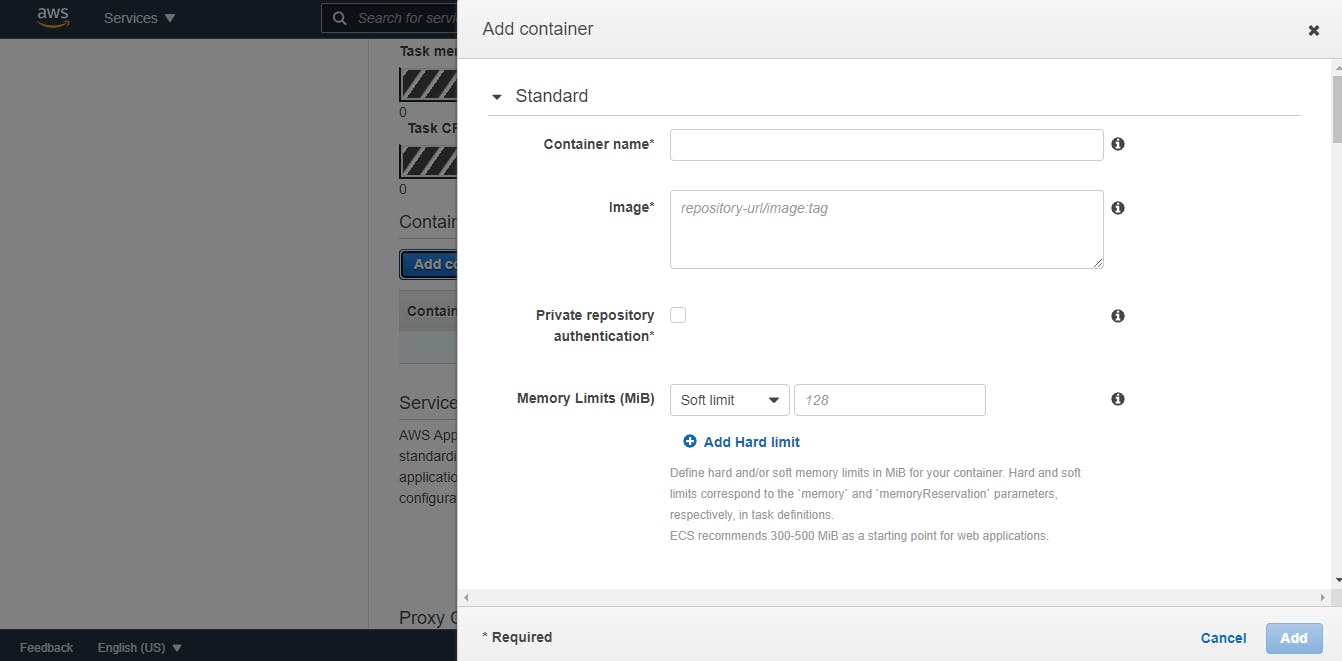
4.2.- Add the name of the container, you can put hello-world-container or in this case the name of your Spring Boot project and then -container

4.3.- Open a new tab in you browser with the AWS ECR service, but don't close the current one.
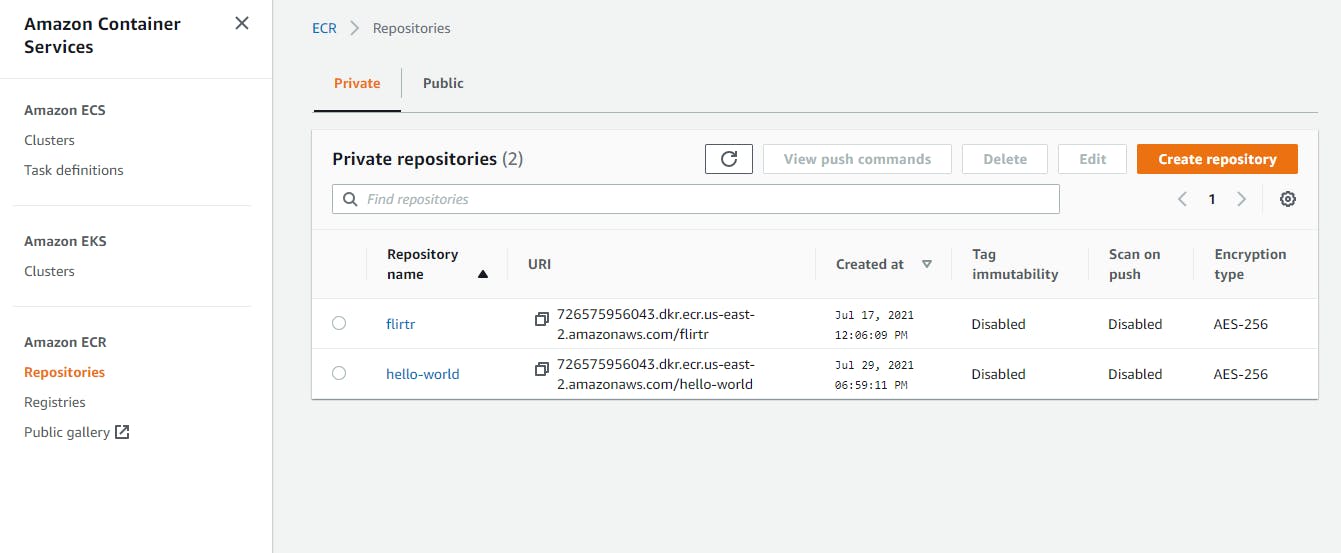
4.4.- Click over the hello world repository that contains our image:
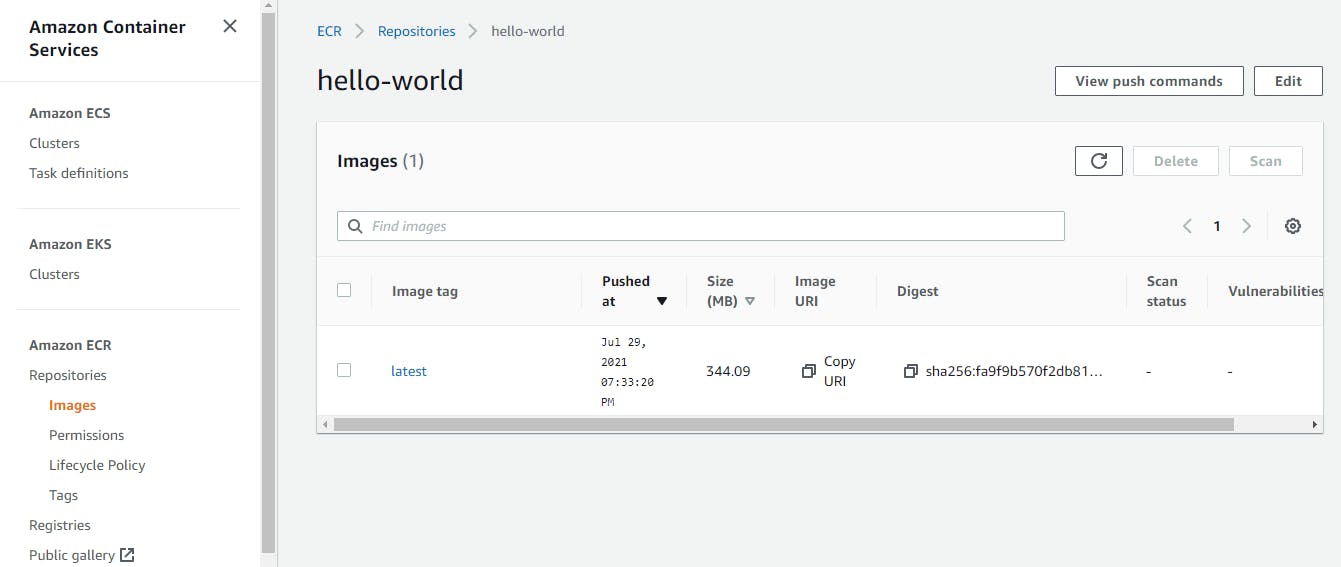
4.5.- Click on the Copy URI to copy the URI of your image in your clipboard
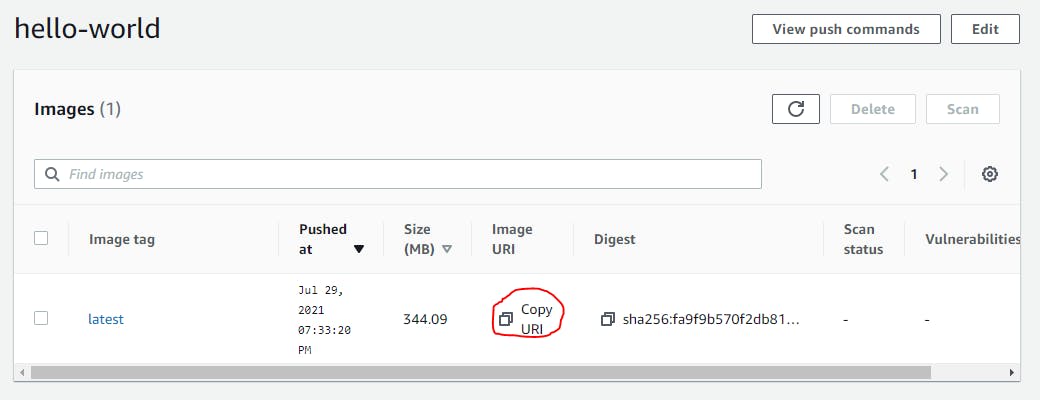
4.6.- Go back to the previous tab, where we were creating the task definition.
4.7.- Past the image URI into the image input:

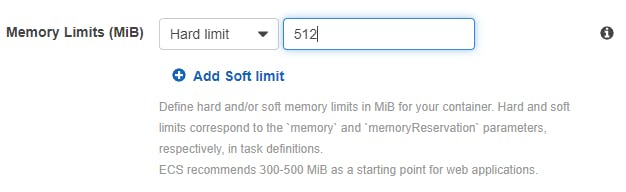
4.8.- In the Memory Llimits (MiB) write 512 and choose Hard limit
4.9.- Map the port of your Spring Boot application into the Port mappings input:

In my case that is 8080, if you remember in Chapter 1 we deployed the Docker image with a Docker container, and we also mapped the port something like 8080:8080 well that is the same exact thing that we are doing here.
4.10.- Leave all as is after that and click on Add
Now in the Container Definitions you will see something like this:

Scroll down until the end of tha page, leave all as is after that and lick over the Create button. You are going to see something like this:
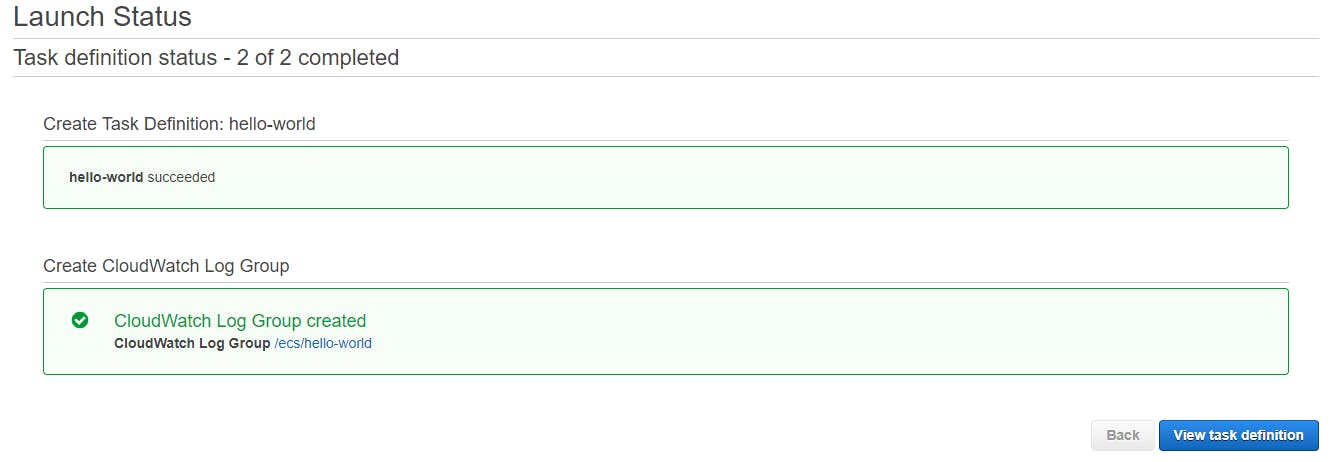
Click over the View task definition button and you will see...
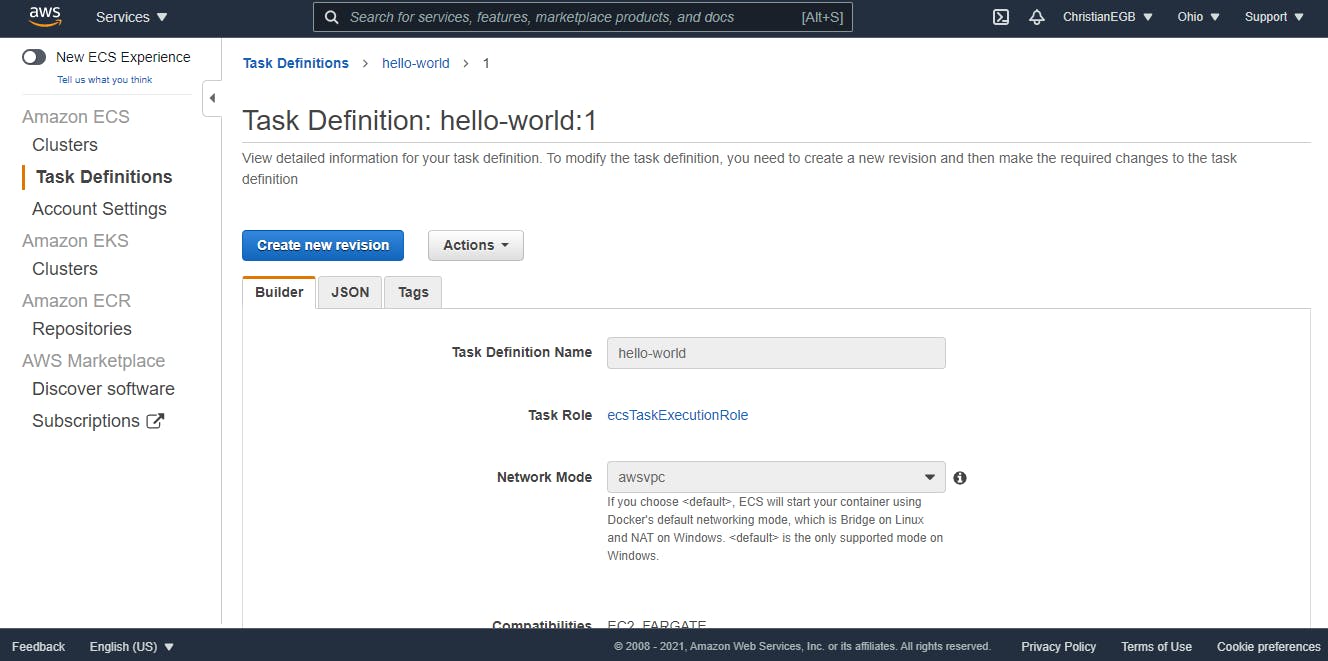
Ok, awesome, we are finishing dev, please stay here, you need just onw more thing, we already have the task definition now we are going to create the service using that task definition, let's do it.
Creating the service
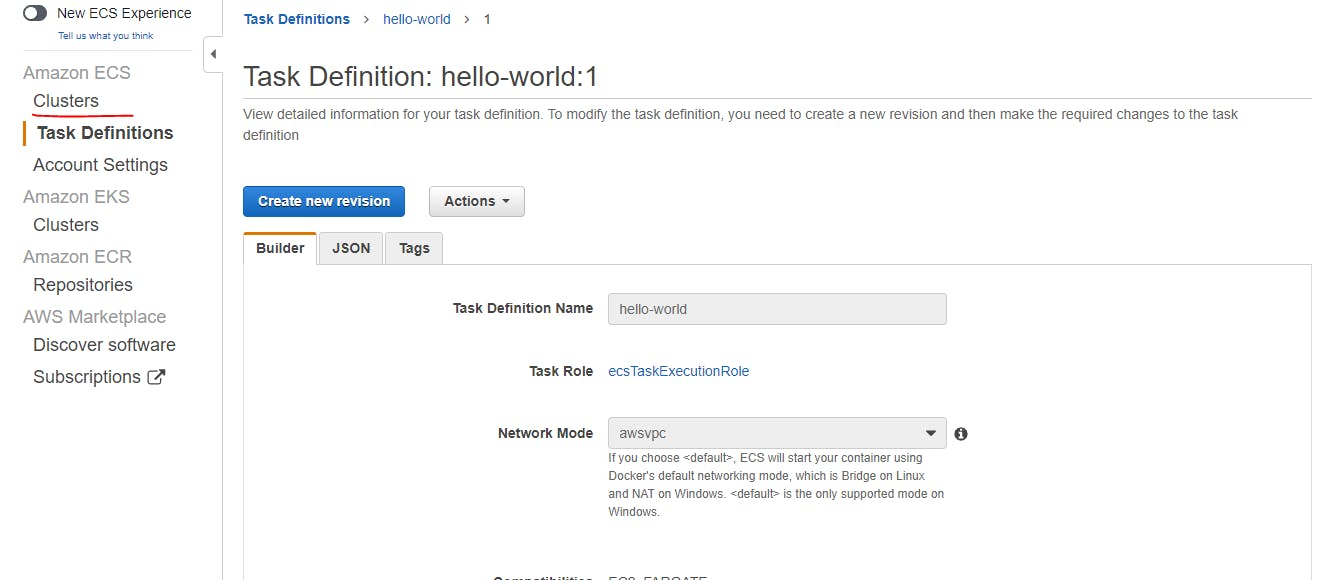
From the last page that we were, in the left menu, click on the Clusters submenu and you:
Now, you will see the name of the cluster that you created previously, the hello-world cluster, click over it:
Now you are going to see something like this:
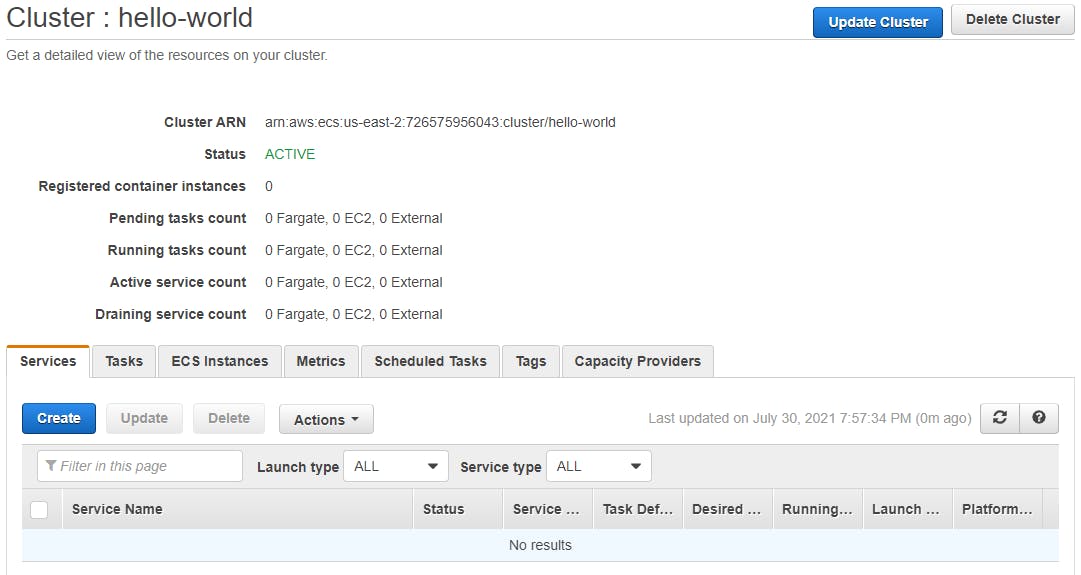
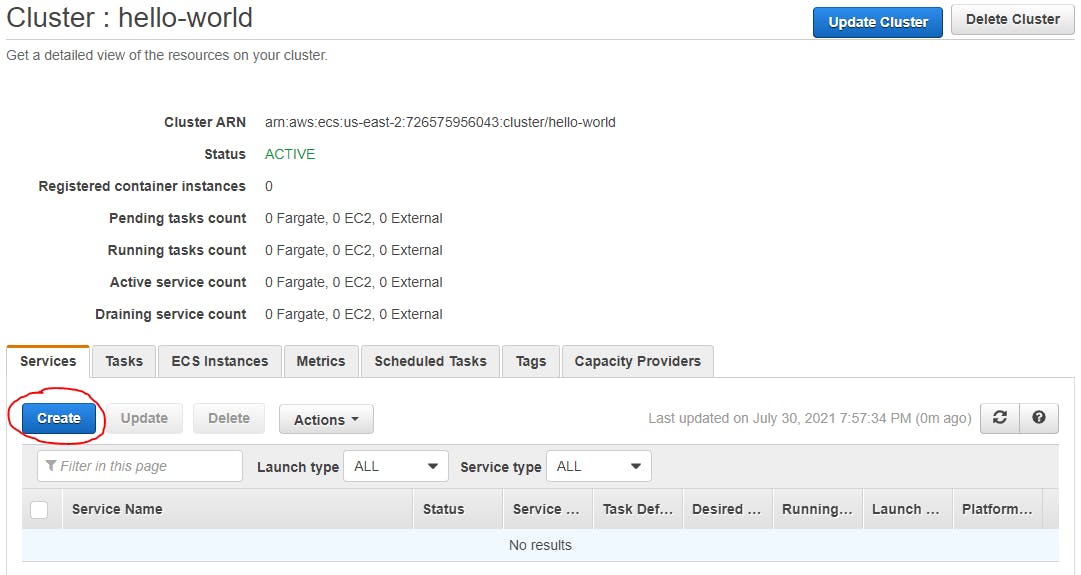
Now go and click over the Create button in under the Services tab:
You will see something like:
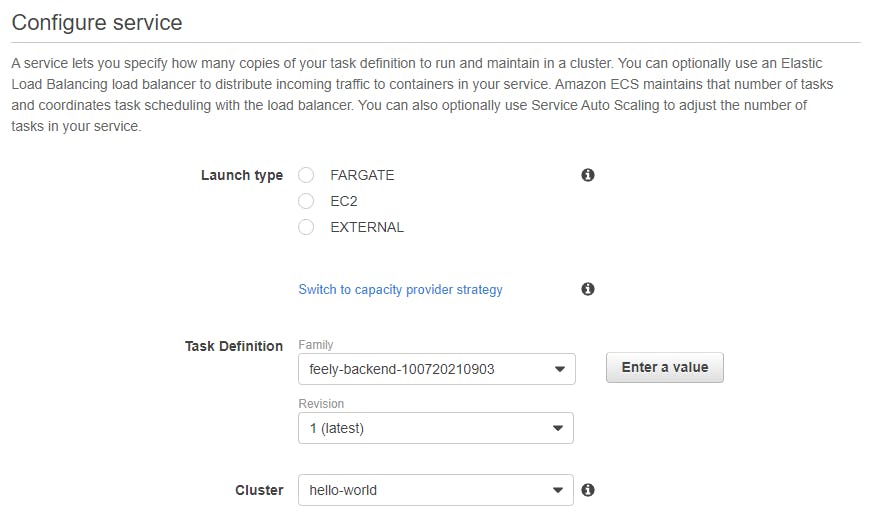
Let's fill everything...
Launch type choose Fargate, that was the type of task that we chose previously:

In the Task Definition choose the one that you created previously (I totally forgot to put the convention name hahaha don't do that, but still, I know that the task definition is hello-world):

Leave all as is until the Service name and put the same name as everyting, as the Spring Boot app, the JAR, the image, the container, everything, this is not required but it will help you to not mix things:

Put 1 in the Number of tasks:

Scroll down, leave all as is after that and click over the Next step button.
The networking part
Ok, ok, this will be kinda hard but don't mess up, we are getting ready...
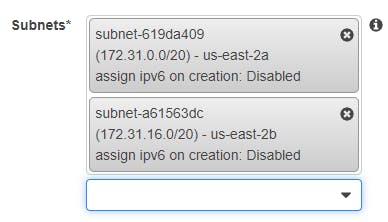
Choose the Cluster VPC there should be a default one:

On the Subnets choose two, the one that ends with a and the one with b:
*IMPORTANT PART: PAY ATTENTION STARTING HERE
The security group
A security group is a... how to say...? A naming space where things in a network can run with security specifications, inbound and outbound rules can be managed here, please click over the edit button, that will give you a new UI like:
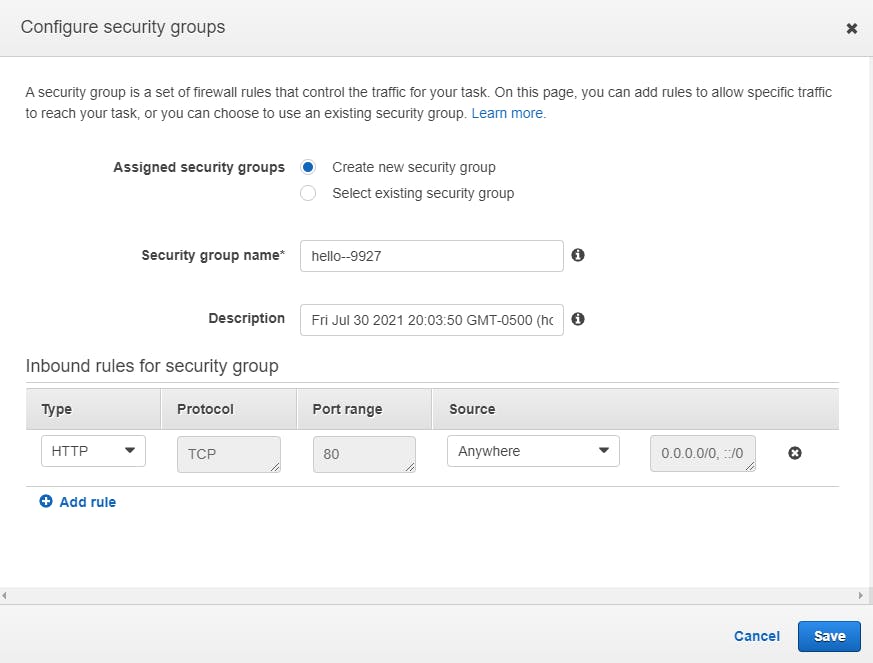
For this example we are going to open the security to be consumed from everywhere, this is not a good practice but remember that this is for begginers, you can check more about security groups and how they work here.
So now, edit the inbound rules and add the ones that you see in the image below, please be very carefull to have the exact same one, not all of them are needed but it is just to be sure that you can hit the service from everywher, by now, remember that this is not a good practice but let's continue...

Click on the Save button.
Now scroll all the page down and click over the Next step button, then you will see something like this:
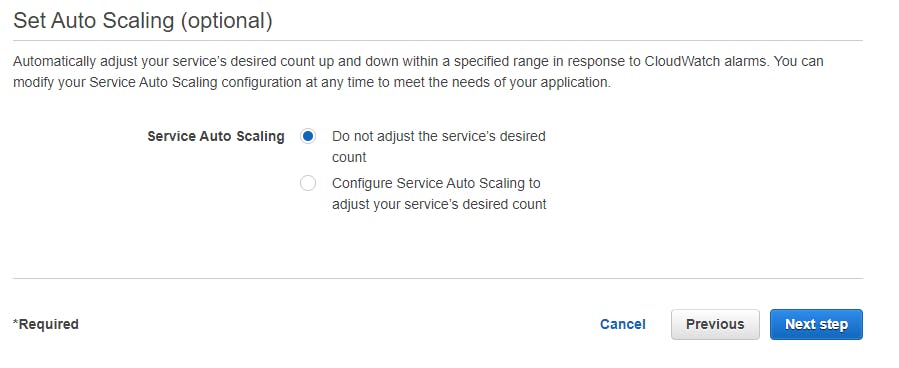
Auto scaling is usefull when a lot of users are consumig our service, for now we are going to be the only ones that will se the output but also maybe you don't want to configure nothing here, just leave it as is and click over the Next ste button.
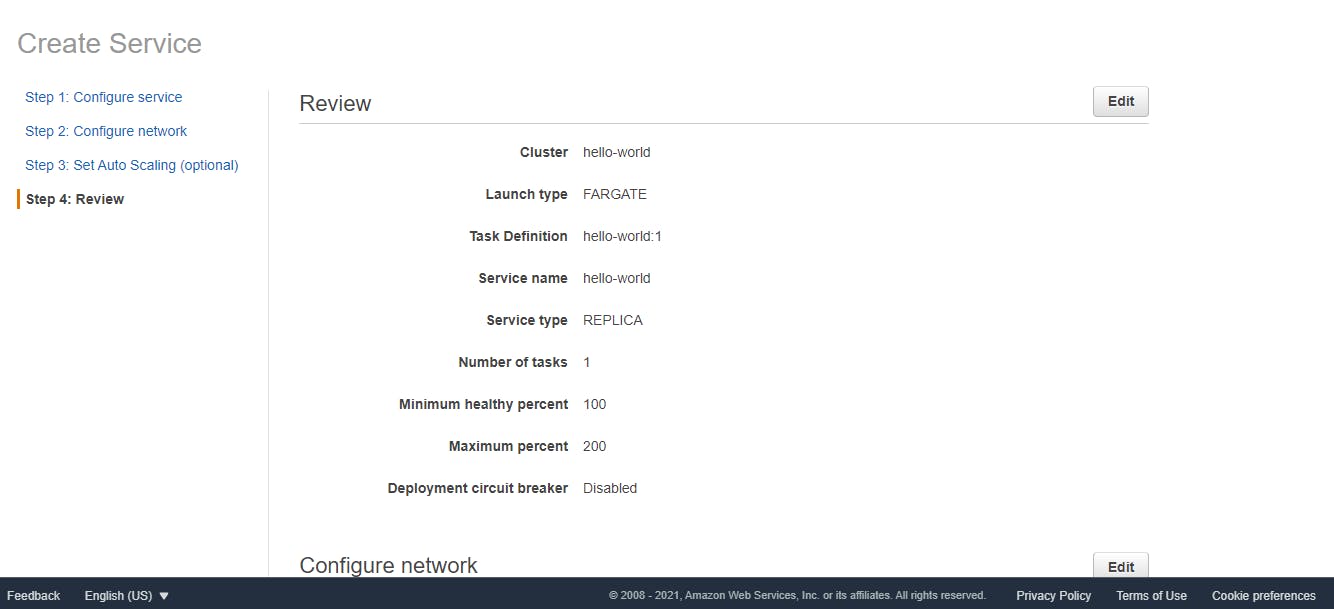
Now, the review process, just scroll down and click Create Service
You will see something like this:
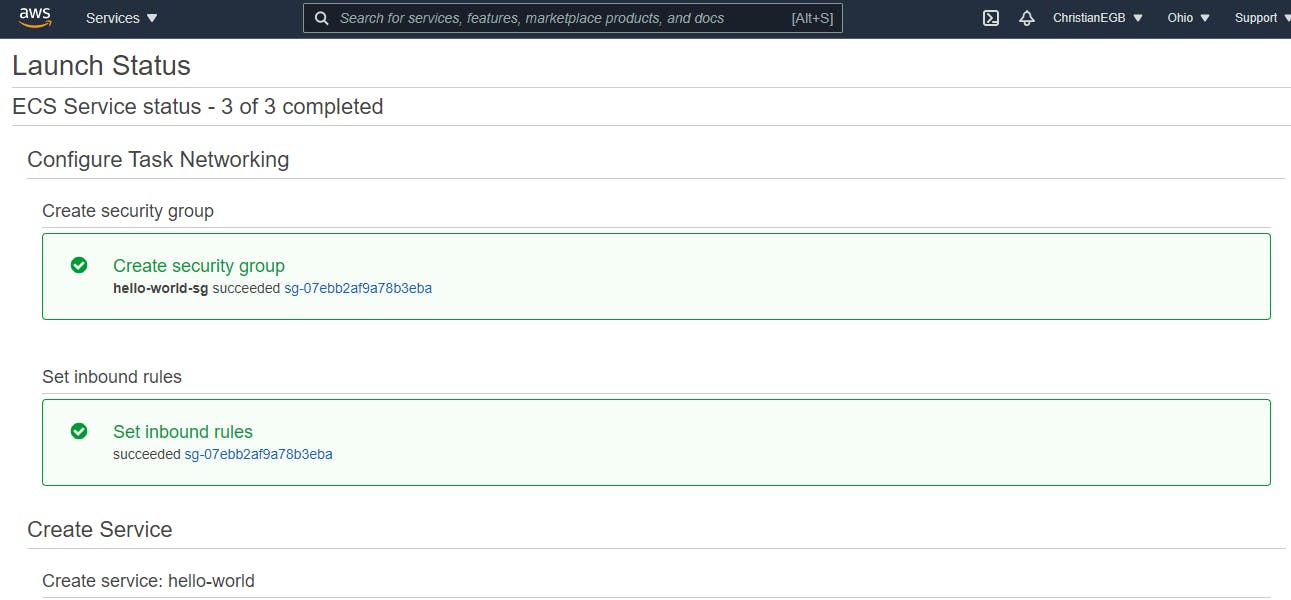
Click over the reload button until you see something like this:
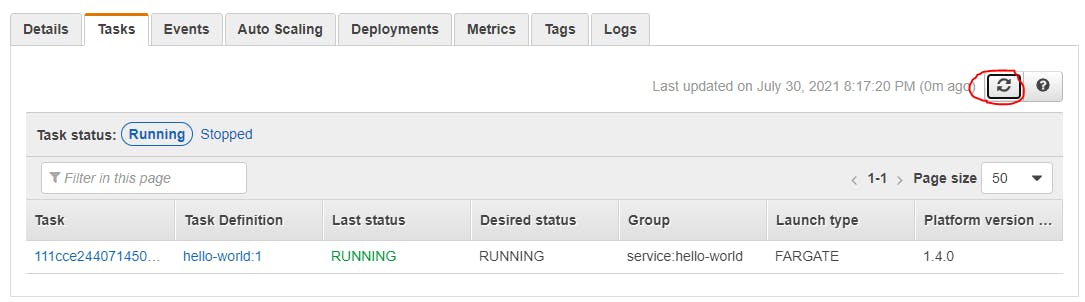
Specially the Running in the Last status column.
Checking the deployment
Now dev let's check how it works:
Click over the task ID:
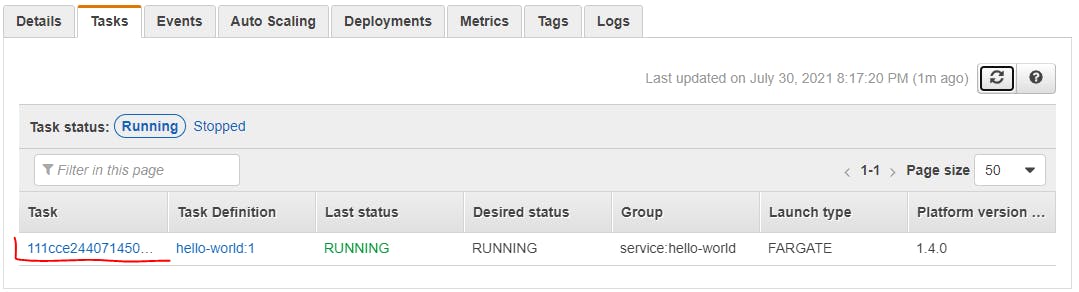
Then you will see something like this:
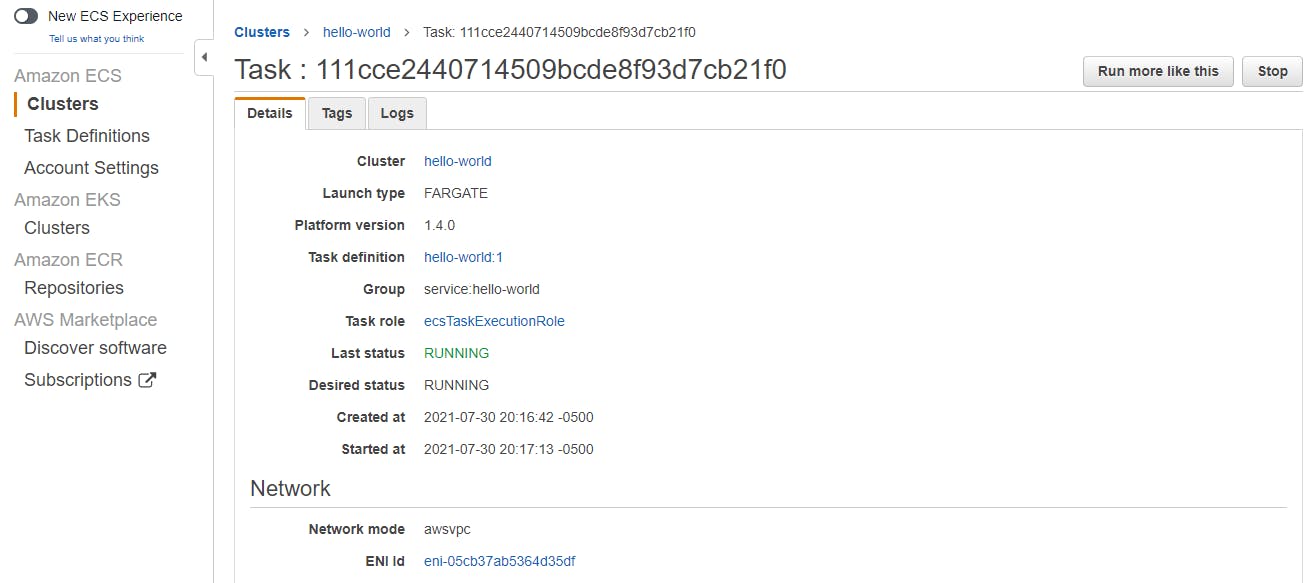
Scroll a little bit down and look for the Public IP over the Network part:
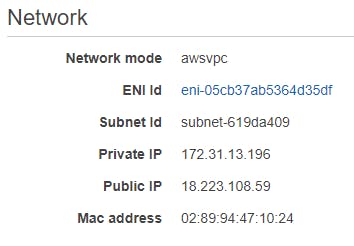
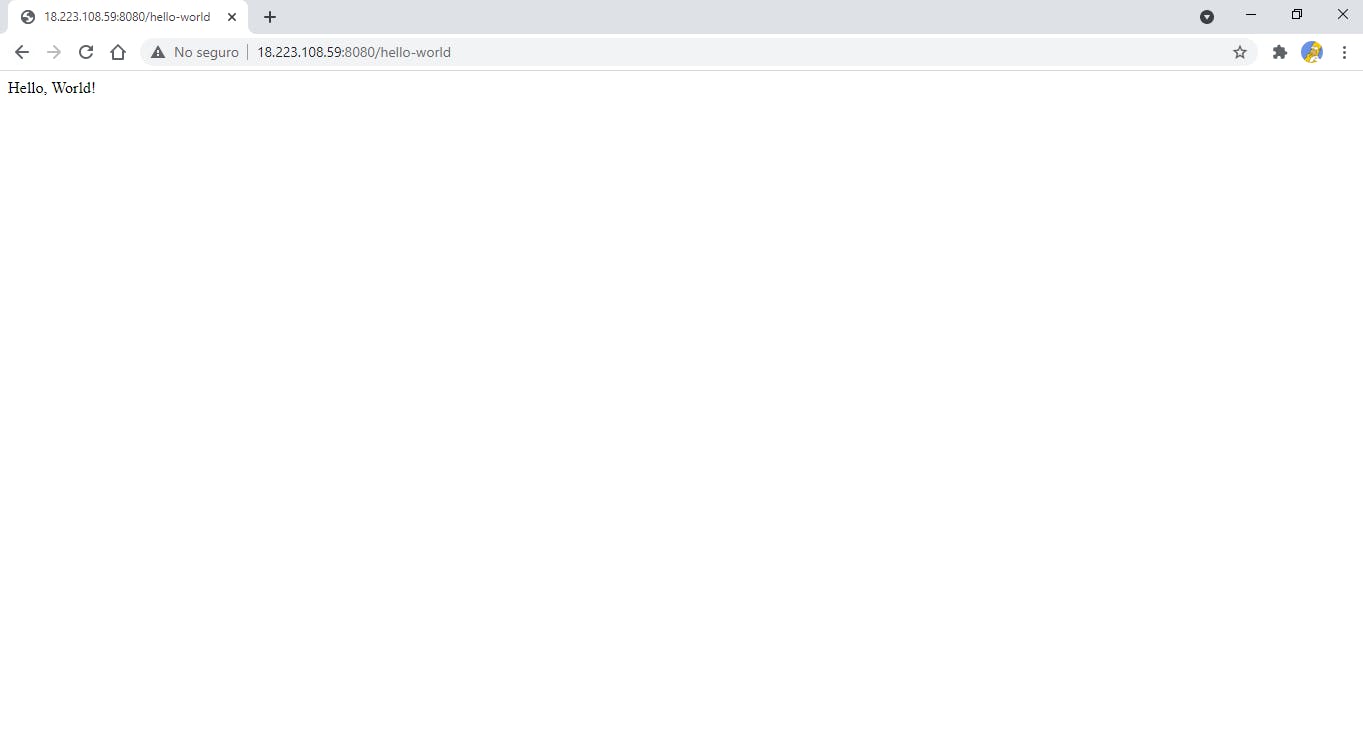
Now, copy the Public IP address, open a new tab in you browser and paste the IP, don't forget to add the port that we mapped (8080) and then add the endpoint that you want to consume, in my case is /hello-world so for me at the end will be 18.223.108.59:8080/hello-world you can check my result here.
And there you go dev!!!!
You made it, you did it dev!!! Congratulations. This was the last Chapter of this series...
Of course dev, we are going to have more of this, the next will be to use a load balancer for our application and some other things, maybe use a database and so but let me think first hehehe.
Please let me know if you have any quesiton regarding this series. Also sorry for all the typo here it was a lof of content haha. I promise I will fix all of it.
So, see you tomorrow dev. <3
Also, if you want to know more about this type of topics please go and check out some tutorials in Amigoscode. We have a lot more regarding Backend and Frontend development and DevOps too!